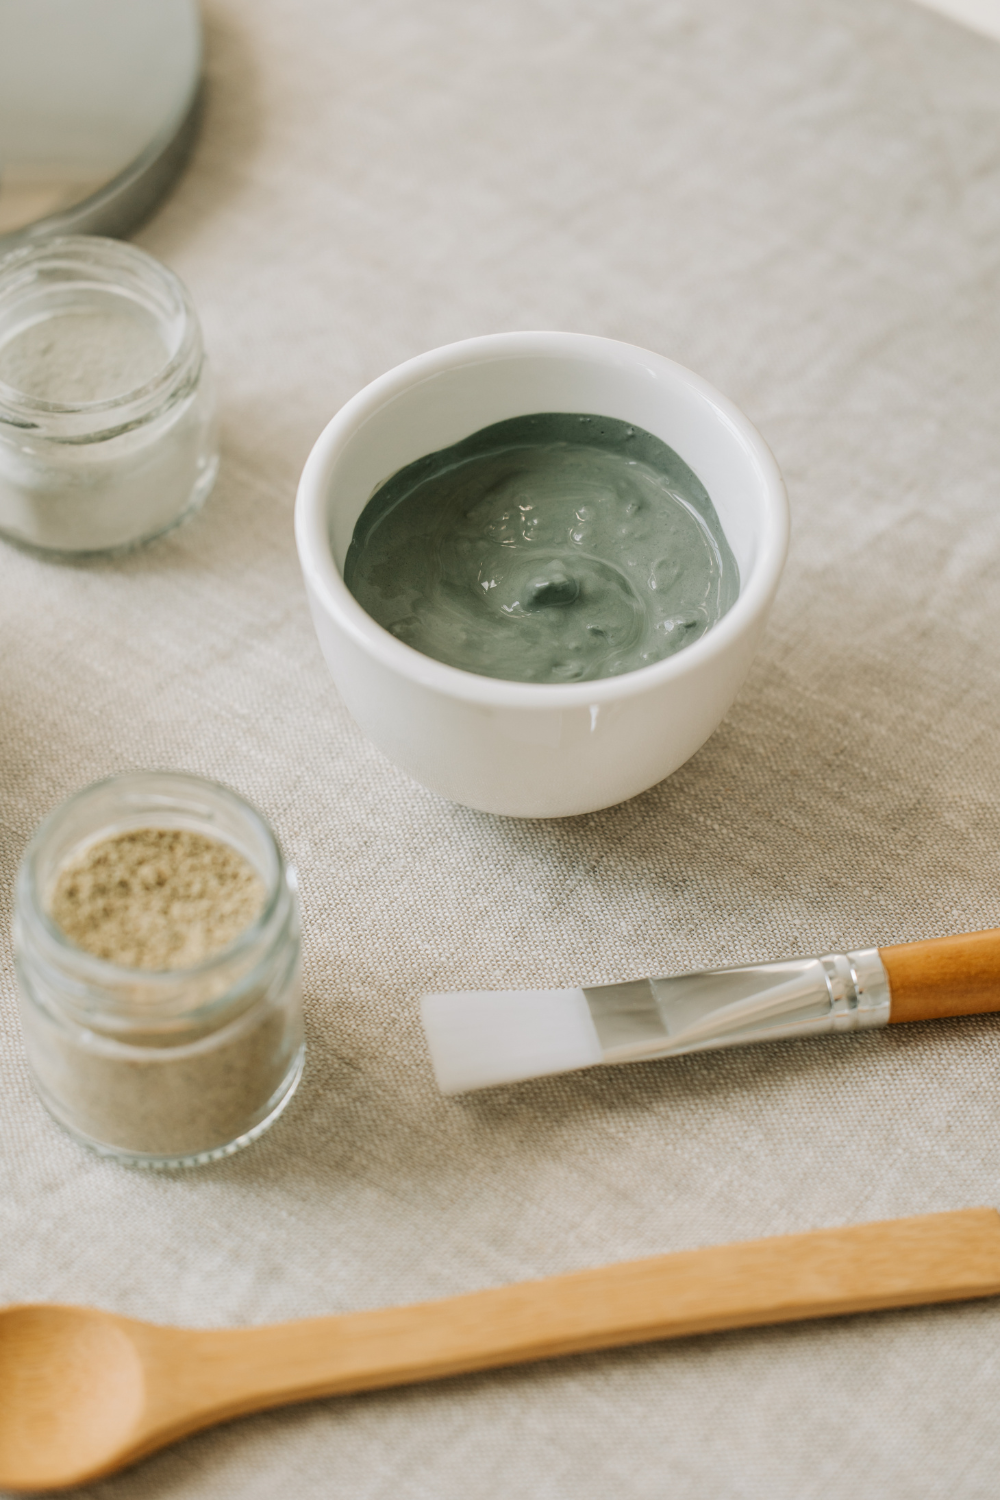
Making Your Own Bentonite Clay Mask Recipe
Share

In the realm of skincare, the Bentonite clay mask stands as a revered elixir, hailed for its ability to cleanse, detoxify, and rejuvenate the skin. Derived from volcanic ash, this natural clay boasts remarkable properties that draw out impurities, unclog pores, and leave your skin feeling refreshed and revitalized. While store-bought versions abound, there’s something uniquely satisfying about concocting your own Bentonite clay mask recipe at home. Let’s delve into the art of crafting this skincare marvel.
Understanding Bentonite Clay:
Before diving into the recipe, it’s essential to understand the star ingredient – Bentonite clay. Renowned for its absorptive properties, Bentonite clay is rich in minerals like calcium, magnesium, and silica. When activated with liquid, it forms a smooth paste that binds to toxins and excess oil, making it a potent remedy for various skin concerns, including acne, inflammation, and dullness.
Crafting Your Bentonite Clay Mask Recipe:
Ingredients:
- Bentonite Clay: 2 tablespoons
- Liquid: Choose from water, apple cider vinegar, or rose water. Approximately 1-2 tablespoons, adjust for desired consistency and potency.
- Optional Add-ins: Customize your mask with additional ingredients based on your skin’s needs. Examples include honey (for its antibacterial properties), aloe vera gel (for soothing and hydration), or essential oils like tea tree or lavender (for added benefits).
Instructions:
- Prepare Your Mixing Bowl: Start by selecting a non-metallic bowl and utensil, as Bentonite clay can react with metal. This ensures the integrity of the mask’s composition.
- Combine Bentonite Clay and Liquid: Add the Bentonite clay to your mixing bowl, followed by your chosen liquid. Begin with a smaller amount of liquid, gradually adding more until you achieve a smooth, spreadable consistency. Stir well to avoid lumps.
- Customize Your Mask: This is where you can get creative. If desired, incorporate additional ingredients like honey, aloe vera gel, or essential oils. These additives can enhance the mask’s benefits and cater to specific skin concerns.
- Apply the Mask: Using clean fingers or a brush, apply an even layer of the Bentonite clay mask to your cleansed face, avoiding the delicate eye area. Allow the mask to dry for 10-15 minutes. As it dries, you may feel a tightening sensation as the clay works its magic.
- Rinse Off: Once the mask is dry, gently rinse it off with lukewarm water. Pat your skin dry with a soft towel and follow up with your favorite moisturizer to lock in hydration.
Tips for Success:
- Patch Test: Before applying the mask to your entire face, perform a patch test on a small area of skin to check for any adverse reactions or sensitivity.
- Frequency: While Bentonite clay masks can be beneficial, it’s essential not to overdo it. Start by using the mask once a week and adjust based on your skin’s response.
- Hydration: Bentonite clay masks can be drying, especially for those with dry or sensitive skin. Follow up with a hydrating moisturizer to replenish lost moisture.
- Storage: Store any leftover mask in an airtight container in a cool, dry place. Use it within a week for optimal freshness and efficacy.
In Conclusion:
Crafting your own Bentonite clay mask recipe is a simple yet rewarding endeavor that allows you to harness the power of natural ingredients for radiant, healthy-looking skin. Whether you’re targeting blemishes, combating excess oil, or simply indulging in a pampering skincare ritual, this DIY mask is sure to become a staple in your beauty arsenal. So, gather your ingredients, unleash your creativity, and treat your skin to the rejuvenating benefits of Bentonite clay. Your skin will thank you for it!


