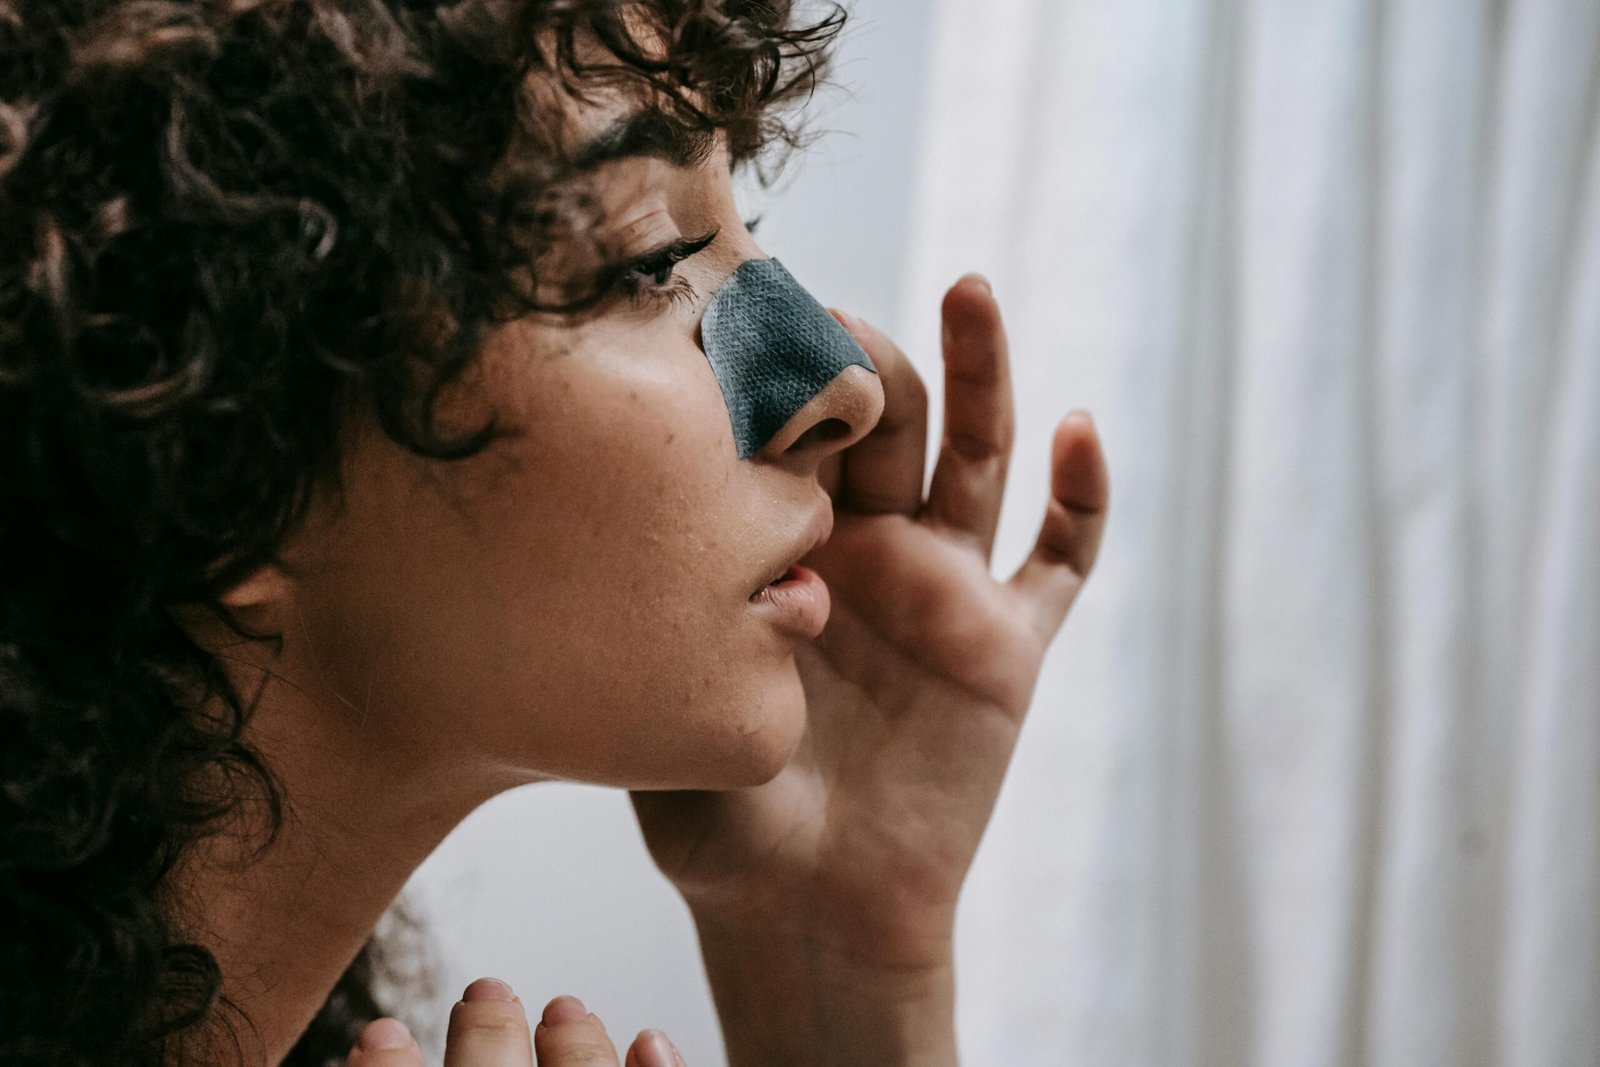
DIY Pore Strips: Easy and Effective Remedy for Blackheads
Share

Pore strips are a popular and effective method for removing blackheads and clearing clogged pores. While store-bought pore strips are convenient, making your own at home can be cost-effective and equally efficient. This comprehensive guide will walk you through everything you need to know about DIY pore strips, including their benefits, how to make them, and tips for use.
Why Use Pore Strips?
Pore strips work by adhering to the dirt, oil, and dead skin cells that clog pores. When you remove the strip, these impurities are pulled away from the skin, leaving your pores cleaner and less noticeable. The benefits of using pore strips include:
- Blackhead Removal: Pore strips are particularly effective at removing blackheads from the nose, chin, and forehead.
- Clearer Skin: Regular use can help maintain clear skin by preventing the buildup of impurities.
- Cost-Effective: DIY pore strips can be made with inexpensive household ingredients.
- Customization: You can tailor the ingredients to suit your skin type and needs.
Ingredients for DIY Pore Strips
Creating your own pore strips at home is simple and requires only a few ingredients. Here are some common recipes:
Gelatin and Milk Pore Strips
Ingredients:
- 1 tablespoon unflavored gelatin
- 1-2 tablespoons milk (whole or skim)
Instructions:
- Mix the Ingredients: Combine the gelatin and milk in a microwave-safe bowl. Adjust the milk quantity to achieve a thick, paste-like consistency.
- Heat the Mixture: Microwave the mixture for 10-15 seconds until it becomes warm and smooth.
- Apply to Skin: Using a brush or your fingers, apply a thin layer to the areas with blackheads.
- Let it Dry: Allow the mixture to dry completely, about 15-20 minutes.
- Peel Off: Gently peel off the dried strip, starting from the edges. Rinse your face with cool water and follow with a moisturizer.
Egg White Pore Strips
Ingredients:
- 1 egg white
- Tissue paper or toilet paper
Instructions:
- Prepare the Egg White: Separate the egg white from the yolk and beat it lightly.
- Apply the Egg White: Using a brush or your fingers, apply a thin layer of egg white to the target area.
- Layer the Tissue: Place a layer of tissue paper over the egg white and press it gently onto your skin.
- Add More Egg White: Apply another layer of egg white over the tissue to ensure it adheres well.
- Let it Dry: Allow it to dry completely, which may take 20-30 minutes.
- Peel Off: Carefully peel off the tissue layer, starting from the edges. Rinse your face with cool water and moisturize.
Baking Soda and Honey Pore Strips
Ingredients:
- 1 tablespoon baking soda
- 1 tablespoon honey
- Warm water
Instructions:
- Mix the Ingredients: Combine the baking soda and honey in a bowl. Add a few drops of warm water to create a paste.
- Apply to Skin: Using a brush or your fingers, apply the mixture to the areas with blackheads.
- Let it Sit: Allow the mixture to sit on your skin for 10-15 minutes.
- Rinse Off: Rinse off the mixture with warm water, followed by a splash of cool water. Pat your skin dry and apply a moisturizer.
Tips for Effective Use
To get the best results from your DIY pore strips, follow these tips:
- Cleanse Your Skin: Always start with a clean face to ensure the pore strip adheres well and removes the maximum amount of impurities.
- Steam Your Face: Steaming your face before applying the pore strip can help open up your pores, making it easier to remove blackheads.
- Be Gentle: When peeling off the pore strip, do so slowly and gently to avoid irritating your skin.
- Moisturize: After using a pore strip, apply a hydrating moisturizer to soothe and replenish your skin.
- Limit Use: Avoid using pore strips more than once a week to prevent over-exfoliation and skin irritation.
Potential Drawbacks
While DIY pore strips can be effective, they may not be suitable for everyone. Consider the following potential drawbacks:
- Skin Irritation: Some ingredients, such as gelatin and baking soda, can be irritating for sensitive skin.
- Temporary Results: Pore strips provide temporary results and do not prevent future blackheads.
- Not Suitable for Severe Acne: If you have severe acne, consult a dermatologist for appropriate treatment options.
Conclusion
DIY pore strips are a fantastic, cost-effective way to maintain clear and smooth skin. With just a few household ingredients, you can create effective pore strips that rival store-bought versions. Remember to follow the tips for effective use and be mindful of your skin’s response to avoid irritation. By incorporating DIY pore strips into your skincare routine, you can enjoy cleaner pores and a healthier complexion.


